Dapeng Town Industrial Park, Tongshan District, Xuzhou City, Jiangsu Province, China
1.1 A large number of pores are generated
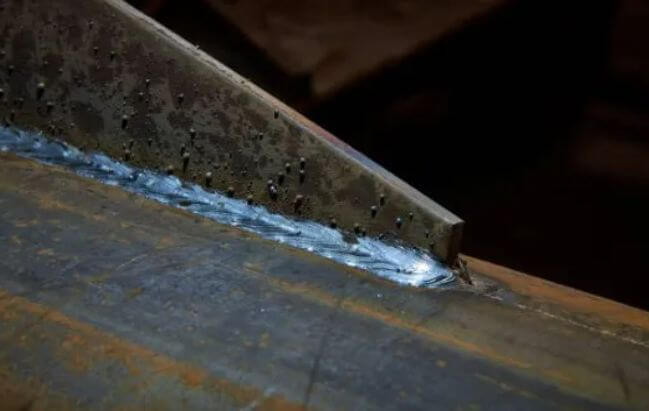
During the welding process, the high-temperature metal of the welded steel body will absorb more gas. When the temperature of the steel body decreases, the gas in the internal structure cannot be discharged in time, forming cavities, which affects the development of welding work.
The main reason for the generation of a large number of pores is that the flux is not completely dry during the welding operation, and the arc blows and blows.
1.2 There are many cracks and gaps
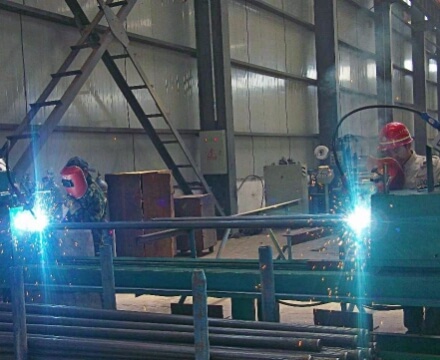
During the welding process, the steel is affected by various uncertain factors, and the phenomenon of thermal expansion and contraction occurs, resulting in slight deviations in the welding angle of the welder during the actual welding operation, and the steel is affected by the heat to produce a large number of cracks and gaps.
1.3 Too much slag is trapped
In the later welding process, the strip-shaped, point-shaped slag and related foreign matter in the metal will adhere to the inside of the weld metal, and too much oil dirt will be generated inside the groove, which will affect the quality of the welding connection during the welding process, and the quality of related engineering projects cannot be guaranteed.
1.4 The welding speed is fast, and the steel body is not really welded
Some welding technicians have not thoroughly mastered the professional welding technology, and the operation method is not standardized. When the welded metal does not meet the welding standards, that is, when the metal is not completely melted, the steel body is welded.
During the operation, the welding speed of the relevant personnel is fast, the welding current generated on the steel body is small, and the gap between the metals is small, resulting in the occurrence of loose welding of the relevant steel.

2.1 Ensure the safety and standardization of engineering inspection
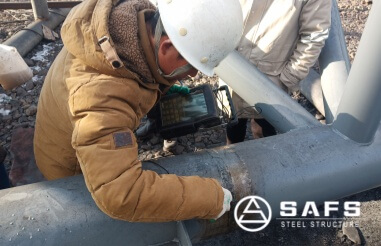
Engineering construction personnel use advanced and scientific weld non-destructive inspection technology to conduct professional technical quality inspections on the overall structure inside the steel, ensuring the smooth development of welding inspection work, and also improving the work efficiency of relevant personnel.
It is worth noting that during the inspection process, the core welding technicians should ensure that the inspection ratio is between 20%-100% of the welding gap length, and the percentage ratio of each welding length should be appropriately adjusted to ensure that the error is within 21mm.
2.2 Can improve the positioning defects in work
Welding workers are often disturbed by the performance and linear level of steel structure and other component equipment during work, which has a lot of adverse effects on finding component positioning defects.
If the relevant personnel make mistakes in their work and neglect the positioning of the equipment, there will be certain safety hazards in related work such as positioning, causing the quality of related projects to continue to decline, thus affecting the construction effect.
The relevant construction personnel use weld non-destructive testing technology to scan the relevant components, which can quickly find positioning defects. Under the continuous communication and discussion of relevant personnel, the causes of defects are analyzed and targeted solutions are solved.
In addition, the staff should continue to introduce advanced weld non-destructive technology at home and abroad, continuously optimize and integrate the operation methods and processes, improve the level of technical management, and provide favorable technical guarantees for subsequent detection and investigation work.
2.3 Effective identification of defect waveforms
During the welding inspection process, it was found that the pore echo height in a single steel component structure was low, and the overall waveform trend was relatively gentle, and the flow direction was relatively stable.
In the traditional detection method, when the inspector analyzes and inspects it from any angle, the height of the entire reflected wave is kept at the same level without a large height difference. If the worker’s body moves, the reflected wave will also fluctuate until it disappears. This method is relatively backward and cannot effectively detect the specific position of the waveform inside the steel body. The operation method is relatively complicated and not feasible and operable.
In addition, when the reflected wave formed under the dense pore structure is detected, the detection results are often inaccurate.
In order to ensure that the inspectors can identify waveform defects efficiently and safely, the non-destructive testing quality inspection technology can be used to systematically inspect and identify steel structure components. The entire operation process is extremely simple. During the inspection process, the staff can make small movements without causing data errors, and the vibration and radiation generated by the relevant instruments will not cause any harm to the human body.
2.4 Evaluation of the weld quality of steel structures
During the construction process, due to the good application effect of non-destructive testing quality inspection technology, it has been promoted by a large number of engineering personnel. This technology uses butt and fillet welding technology to professionally evaluate the welds of steel structures, and conducts ultrasonic quality inspection on steel plates with a thickness of more than 8.5mm during construction, ensuring the safety and reliability of building production facilities.

3.1 Ultrasonic flaw detection technology
Ultrasonic flaw detection technology mainly uses ultrasonic waves to conduct non-destructive quality research on the internal structure of welded steel.
During the detection process, ultrasonic waves propagate in various different media, thereby forming a reflection phenomenon. Under such working conditions, ultrasonic waves propagate between steels through a certain detection form, and are fed back to the detection technicians after data processing, thereby helping the detection personnel to analyze and judge the quality of steel.
This operation method has certain disadvantages, mainly manifested in that the operation method of this method is relatively complicated, and the detection personnel are easily affected by objective factors, and the detection method will not be standardized and unified.
In addition, this method requires staff to have a good knowledge and professional level.
In order to ensure the quality and efficiency of ultrasonic flaw detection, supervision can be strengthened from the following aspects:
First, confirm the qualifications of non-destructive testing personnel. They must be Level II qualification certificates issued by relevant national departments and be valid. Before the official start of work, organize non-destructive testing personnel to take a pass test to examine their familiarity with instrument probe skills and work standards.
Second, before using the instrument, it is necessary to strictly test its horizontal linearity and verticality indicators in accordance with relevant specifications. When the continuous work is >4h, the instrument and probe process must be reviewed.
Third, check the distance-amplitude curve to clarify whether it is correct or not. The curve is composed of the scrap line RL, the quantitative line SL and the evaluation line EL. It is an important basis for judging whether the quality of steel structure welding is up to standard.
3.2 Magnetic particle flaw detection technology
Magnetic particle flaw detection is a new technology that uses the amount of magnetic powder leakage to test the overall structural quality of steel.
This detection technology can be mainly divided into three recording methods: magnetic powder method, magnetic powder induction method and magnetic powder detection.
There are seven major procedures for magnetic particle inspection technology, namely pretreatment, magnetization, application of magnetic powder or magnetic suspension, observation and recording of magnetic traces, rating of defects, demagnetization and post-processing.
According to the geometric shape of the workpiece, the specification continuity and the direction in which the defects are to be found, it is necessary to build a magnetic field direction on it. The magnetization method is usually divided into circumferential, longitudinal and multi-directional magnetization. Among them, the circumferential magnetization method is mostly used to find longitudinal defects parallel to the workpiece axis, and the longitudinal magnetization method shows good performance in detecting transverse defects of the workpiece.
When inspecting the steel structure, the staff used the strong magnetic field attraction to judge the quality of the structure itself. Through specific practice, it was found that this method can only detect the surface structure of the steel, and cannot conduct in-depth evaluation of the quality of the internal structure. This method is relatively immature and needs to be improved.

Conclusion
Different non-destructive testing quality inspection technologies have their own advantages and use defects. Relevant inspection personnel should choose the most suitable engineering inspection technology according to the specific construction project, take local conditions into consideration, make overall plans, and improve the construction quality of the construction project.
In summary, relevant staff should strengthen and improve testing techniques and methods, and while continuously improving the non-destructive quality inspection of steel structure welding, timely summarize and improve the problems found during the inspection process, thereby promoting the sustainable development of the construction industry.